How to Install a Ceiling Fan
Adding or replacing a ceiling fan is both a fashionable and practical addition to any room in your property. From the outset, you will need to know whether an electrical outlet for a ceiling fan exists. Fortunately, the wiring for most ceiling fans is identical to any straightforward ceiling lighting fixture. How do you go about installing a ceiling fan?
Do you require an electrician?
When a ceiling fixture already exists, it will become a relatively simple task to replace the lighting fixture with a ceiling fan, but if this is beyond your capability, be honest and select a suitable electrician to carry out the task for you.
Where the fitting of a ceiling fan is a completely new installation, are you capable of completing the electrical task of safely installing wires all the way through to the fuse or circuit panel. If you are in any doubt, you are back to choosing a suitable electrician for the task.
Simple steps to install a ceiling fan
Installation of a ceiling fan is not a difficult task and is within the capability of many home skilled electricians.
Begin by removing the power from the fuse within the circuit panel and where you are unsure, use a circuit tester to prove that the power has been removed from the area where you are working.
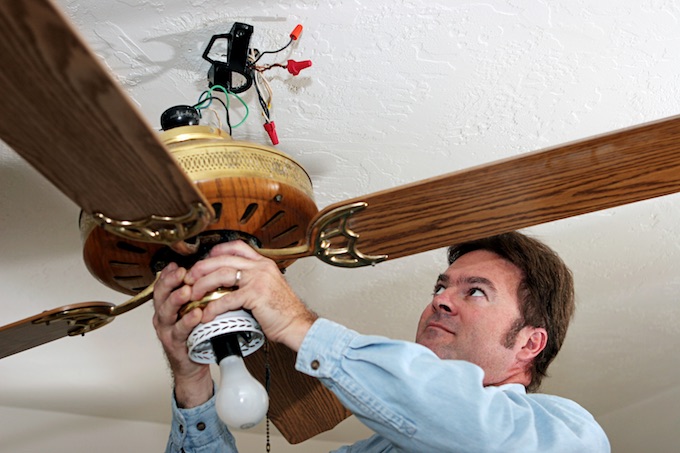
You may begin by removing the current installation which involves taking away a light bulb cover, the bulb and then the fixture. The majority of fixtures simply unscrews or will require unbolting from the fixture base attached to the ceiling.
Related- Looking for a ceiling fan electrician in Las Vegas? Click the link.
Federal and state laws require a ceiling fan to be attached to a heavy duty ceiling box because the fans are relatively heavy and may pull down a standard fixture ceiling box. The manufacturer’s instructions for installation will specify the type and style of ceiling box required.
After removing the current fixture and ceiling box, you will be left with electrical wires. It is vital that you understand which color wire must be attached to where on your new ceiling fan unit for the safety of your property and to avoid fires. The installation documentation will guide you as you may be presented with a white wire for neutral, black for hot and possibly green as a ground wire.
The installation process
You will be carrying out a relatively simple process, but if the ceiling fan is heavy you may require a second person available to help you through the procedures, for safety reasons. Don’t drop and break your new fan!
To install an adjustable handlebar and ceiling box, you will work with the hole left by the previous electrical installation. The majority of ceiling fans are installed by connecting the hanging bar through the hole and rotating it until it is perpendicular to the ceiling joists. It is designed to dig into the wooden joists as you complete this work and lock everything into place for a secure base for the ceiling fan.
With your assistant, you will need to support the ceiling fan as you attach the wires. This is easier with some models, but requires human support on many occasions.
Models of ceiling fans differ depending upon lighting and speed, but the wiring installation is similar to a standard light fixture. It is essential that all wires are secured completely and where a ground green wire is required, it must be attached exactly as requested, to the ceiling box.
Completing the installation of a ceiling fan will involve the tightening of a few screws or bolts before you check your entire installation before returning the power to the installation and carefully testing it all, before sitting back to admire your work and the breeze.
Resources:
How to install a ceiling fan by Lowes.com: http://www.lowes.com/projects/build-and-remodel/install-a-ceiling-fan/project
How to install a ceiling fan by Home Depot: http://www.homedepot.com/c/how_to_install_ceiling_fan_HT_PG_LF